Preface:
As a slight divergence (and later on a continuation in a few days) I’m going to start covering more Ansible related automation, starting off with AWX, Ansible Towers upstream. In today’s IT environments, Ansible is widely used as one of many various automation tools/configuration management, and products such as AWX and Ansible Tower help bring a centralized GUI, role-based access control, job scheduling, workflows/API’s, job status updates and most importantly (IMO) for the cybersecurity team - logging integrations. Today I’m going to install AWX in a kubernetes environment. While the VM I have is not a “True” Kubernetes High Availability Failover cluster, I am going to make a single node cluster using Rancher/k3s on my Ubuntu 22.04 VM, which I’ve dedicated 2 cores and 8GB of ram to. I don’t plan on using this for anything other than Ansible/AWX and running day-to-day Ansible Playbooks, ensuring my environment is compliant and up-to-date, and taking up precious SSD space on my server (kidding).
Enter AWX install
Using a fresh install (from one of my Gold Images (read: VMWare Templates) I created a few days ago, thank you Compliance as Code Github. Essentially I turned an Ubuntu Image I had into a VM Template in ESXI/VSphere. In the future I’ll set up Terraform and Packer templates with a CIS Benchmark hardened image if I see a need to spin up more VM’s quicker), I’m going to set up a VM dedicated to running AWX where I can run playbooks on my network and as a central point in my network where I can ensure my boxes are in compliance with benchmarks.
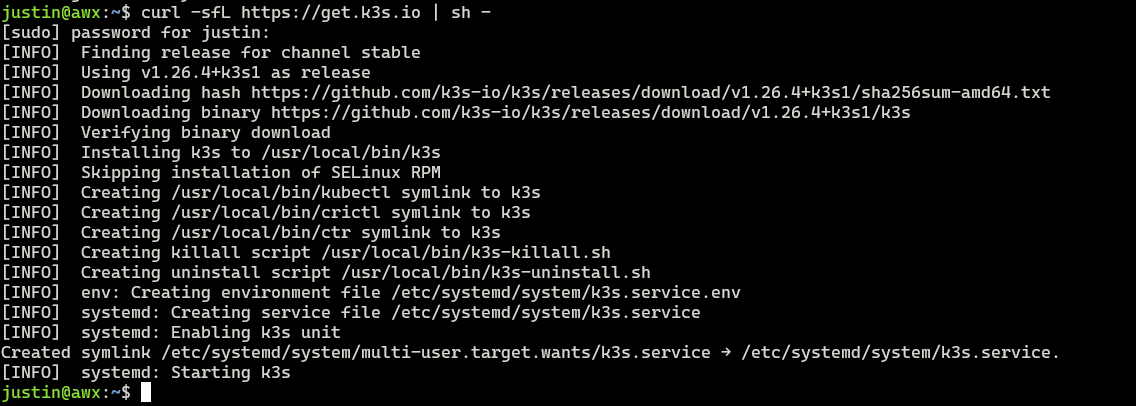
So now that I have this new ubuntu image spun up from a template, I’ll go through my usual taskings of changing the hostnames and assigning it an appropriate IP from my router (dhcp). Next I’ll log in and install Ranchers k3s using their one liner script found here
curl -sfL https://get.k3s.io | sh -
Next we need to make the k3s.yaml file to be editable by our user (in this case… me) without having to elevate permissions everytime.
sudo chown justin:justin /etc/rancher/k3s/k3s.yaml
Now when I run
kubectl --version

OR

kubectl get nodes
I don’t have to elevate privileges

Now time to go to the AWX Github page and start the installation of the AWX Operator, beginning with the Kustomize, which helps install AWX Operator, which then helps install Ansible/AWX on the Kubernetes Node.
To install Kustomize, Go Here and grab the binary for your operating system (it’s a curl command)
curl -s "https://raw.githubusercontent.com/kubernetes-sigs/kustomize/master/hack/install_kustomize.sh" | bash
Then we move it to /usr/local/bin so that it is executable
sudo mv kustomize /usr/local/bin

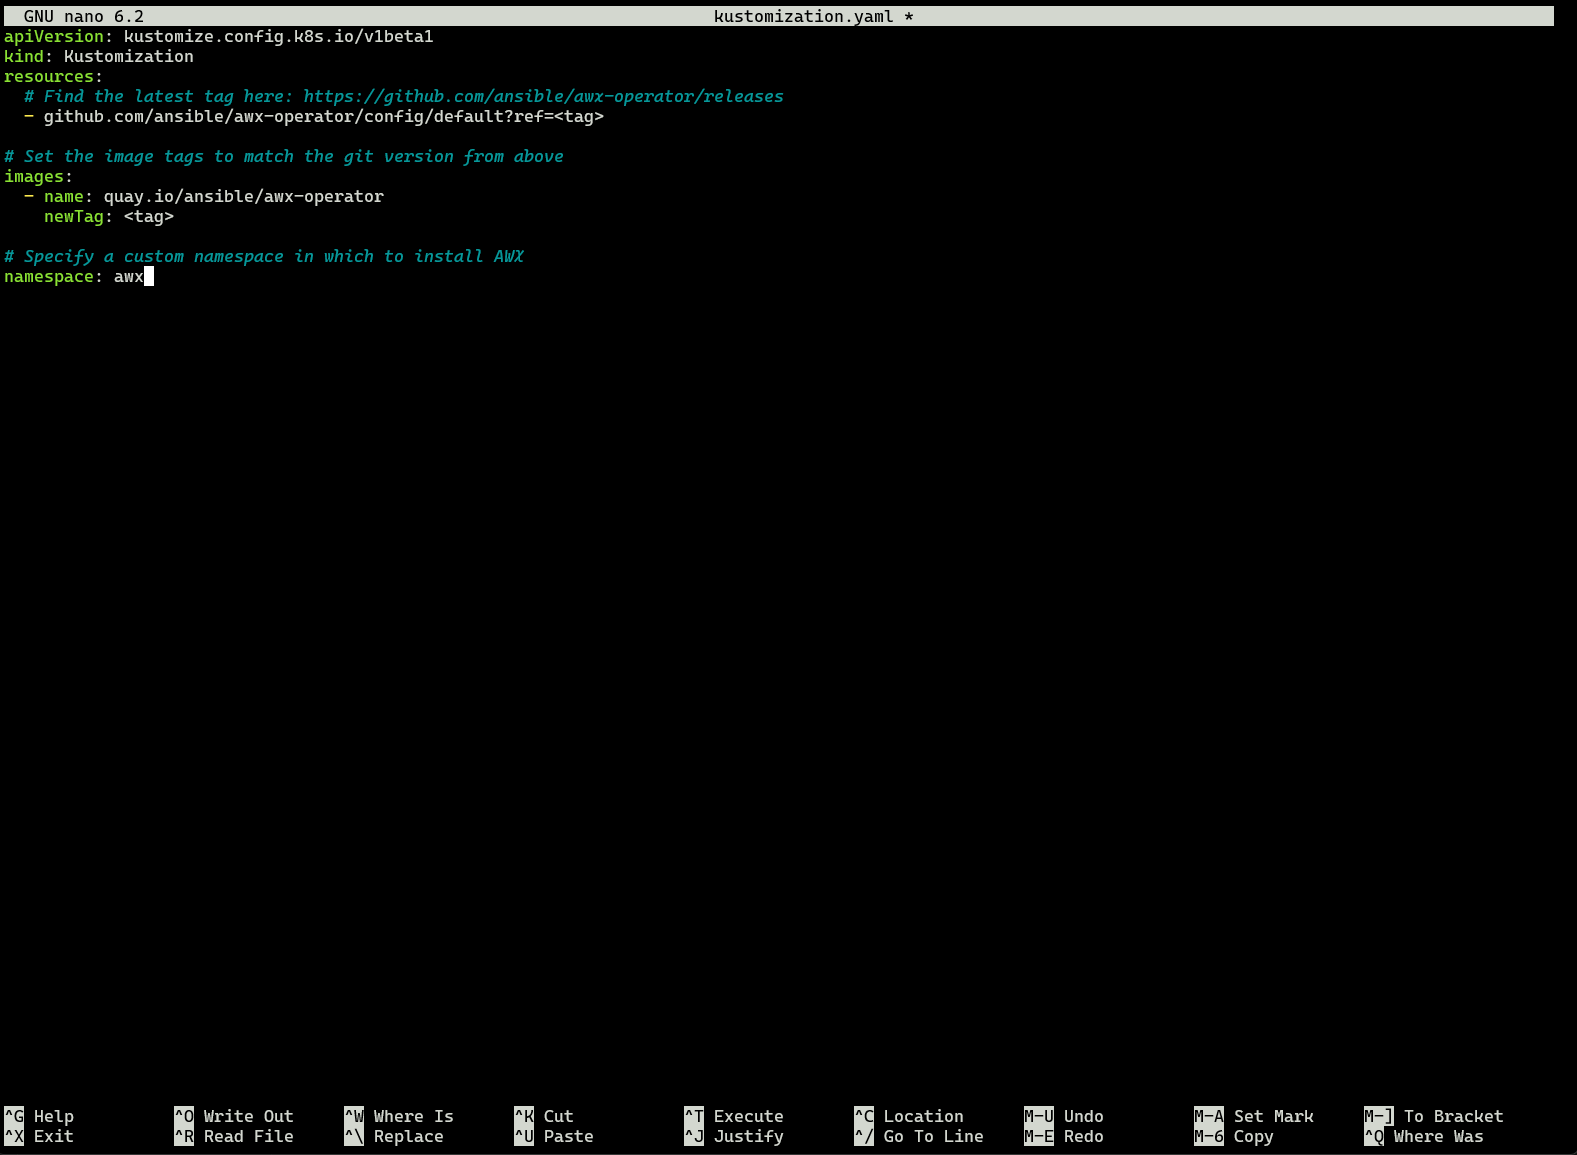
Now lets create our kustomize.yaml file. In our home directory:
nano kustomization.yaml
and pasted the following
apiVersion: kustomize.config.k8s.io/v1beta1
kind: Kustomization
resources:
  # Find the latest tag here: https://github.com/ansible/awx-operator/releases
  - github.com/ansible/awx-operator/config/default?ref=2.0.1

# Set the image tags to match the git version from above
images:
  - name: quay.io/ansible/awx-operator
    newTag: 2.0.1

# Specify a custom namespace in which to install AWX
namespace: awx
Now lets kick off kustomize and apply it to our kubernetes cluster
kustomize build . | kubectl apply-f -
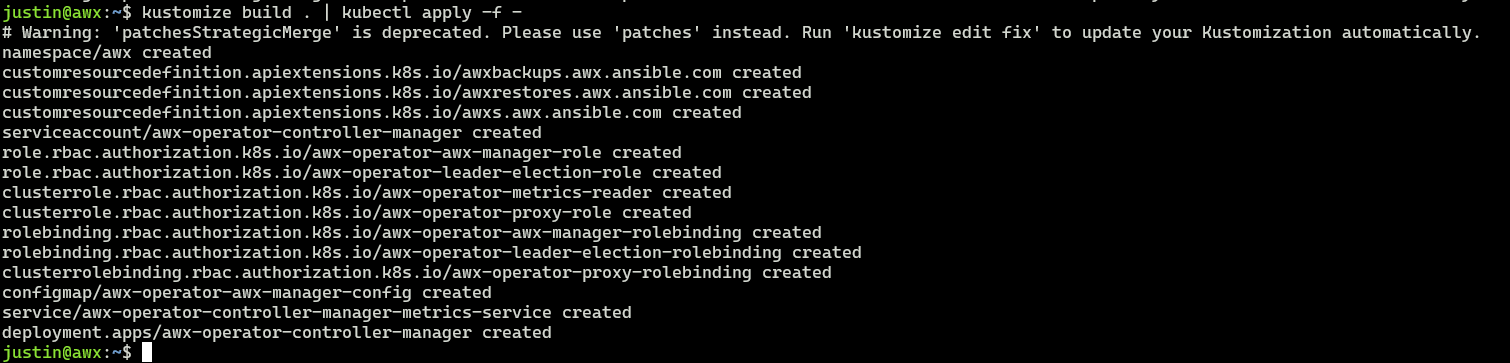
Verify with
kubectl get pods --namespace awx

Now lets create our k3s file to create the AWX container and install AWX on our k3s server.
nano awx-demo.yaml
and insert the below:
---
apiVersion: awx.ansible.com/v1beta1
kind: AWX
metadata:
  name: awx-demo
spec:
  service_type: nodeport
  nodeport_port: 30800
  secret_key_secret: custom-awx-secret-key
and lets create our AWX Secrets key file. This is used to encrypt sensitive data in the database
nano custom-awx-secret-key.yaml
and insert the below. See note below about the supersecuresecretkey string
---
apiVersion: v1
kind: Secret
metadata:
  name: custom-awx-secret-key
  namespace: awx
stringData:
  secret_key: supersecuresecretkey
To generate a supersecretkey string use the following command
gpg --gen-random --armor 1 18
Now back to the kustomization file
nano kustomization.yaml
and add these two file names under the “resources:” line awx-demo.yaml custom-awx-secret-key.yaml

Now its time to rerun the first kustomize command we ran in order to set up the AWX Pods initially.
kustomize build . | kubectl apply -f -
After a few minutes, check with
kubectl get pods -n awx

Now it’s time to log in. The default username to log in is “admin”. To get your password run
kubectl get secret awx-demo-admin-password -o jsonpath="{.data.password}" --namespace awx| base64 --decode
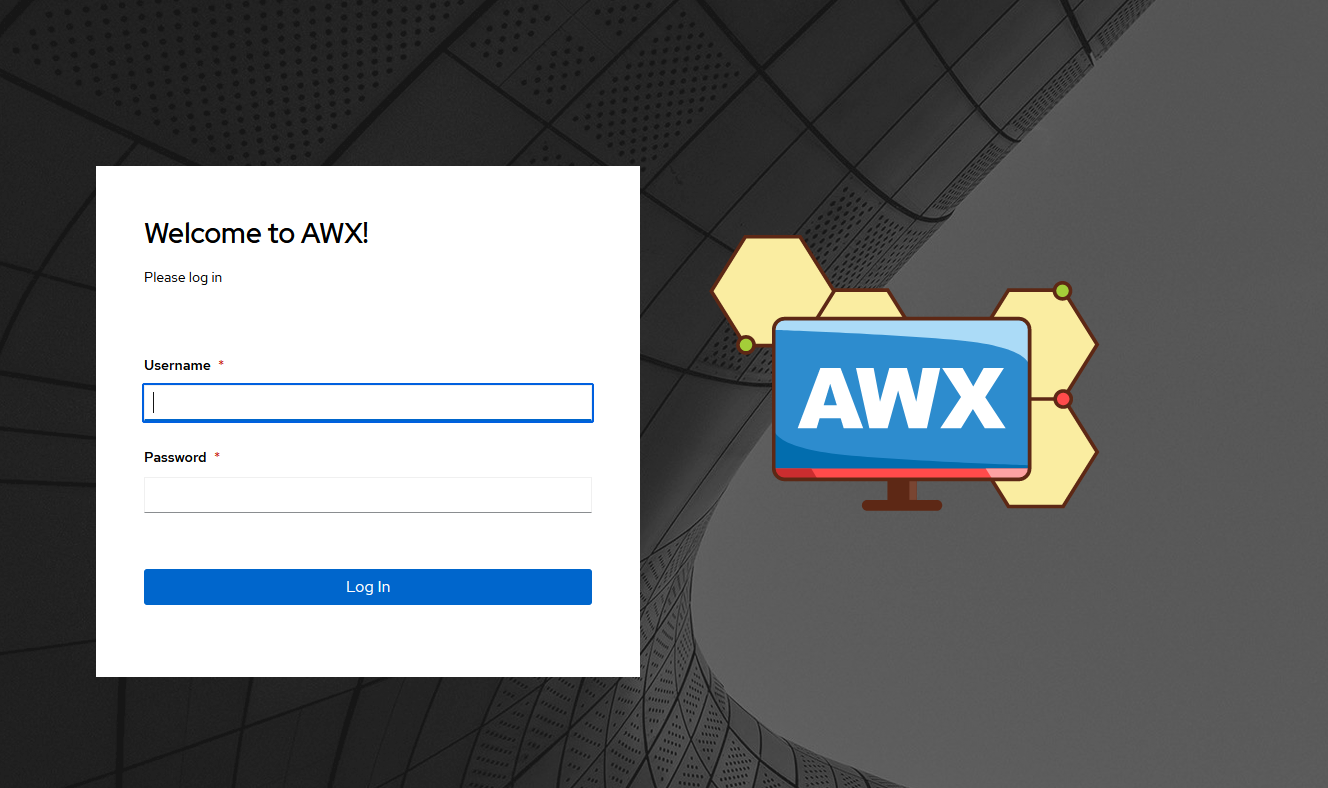
Now log in and you should be at the main dashboard screen. Time to change your password.
Congrats, you now have a working AWX Install. Time to start setting up your credentials, inventories, hosts, etc.