
In todays blog post I’m going to go over one of the many SIEM tools widely used today in many enterprises (both in the commercial sector as well as the DOD), Splunk.
Splunk is best known for monitoring, searching through, analyzing, and providing visuals for real time data. In laymens terms, we can generate pretty, meaningful graphs and charts, from data that is otherwise just lines of log files or computer-generated data (and get notifications from, etc).
So to start, I am going to install Splunk on its own dedicated RHEL 8 virtual machine:
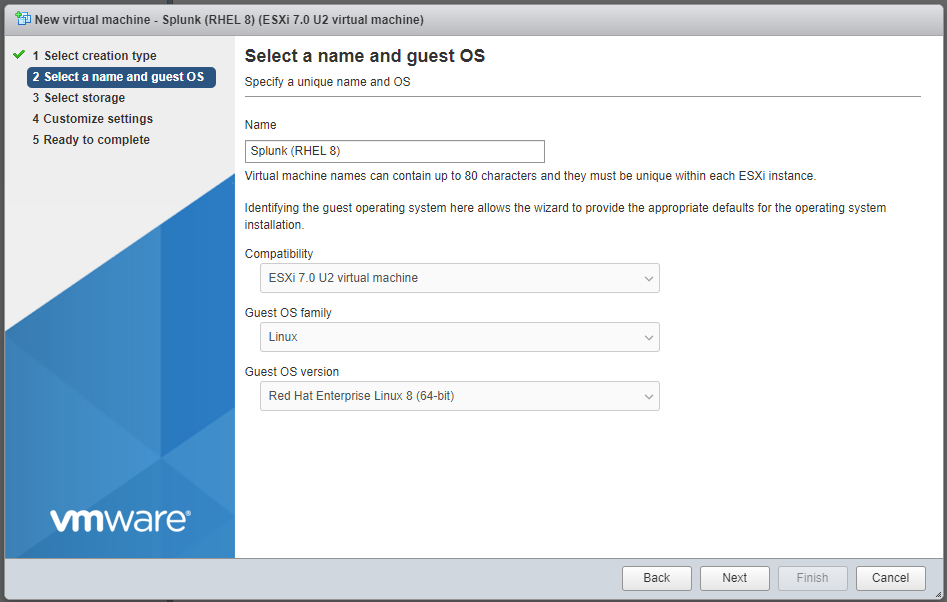
Now why I choose RHEL 8 instead of Ubuntu or Debian? Quite honestly I wanted to stick to as close to DOD used Operating Systems for my current role (which, if you are currently working in your Cybersecurity/IT role, your homelab should closely mimic technologies you are working with/exposed to as well!). I also have a RHEL Developer License that has several RHEL keys I’ve been meaning to use up.
Splunk has a Reference Hardware page that outlines “recommended” hardware they have tested for various environments, however for a HOMELAB, realistically we aren’t going to be able to spare this many cores (yet… One day I will get to this point), so for now I’m going to give this VM 4 cores and 12GB of ram. Also I will add that in a normal “Enterprise” environment, you would have a Search Head or two, a few Indexers, along with your forwarders, however in this environment I will have everything combined into one machine as I do not have a massive environment to collect log files from (yet). Also I’ve already signed up for a Splunk Developer License which gave me 6 months to test (with the option to renew within 10 days of the license expiring) plus bumps my log aggregation from 500MB to 10GB)

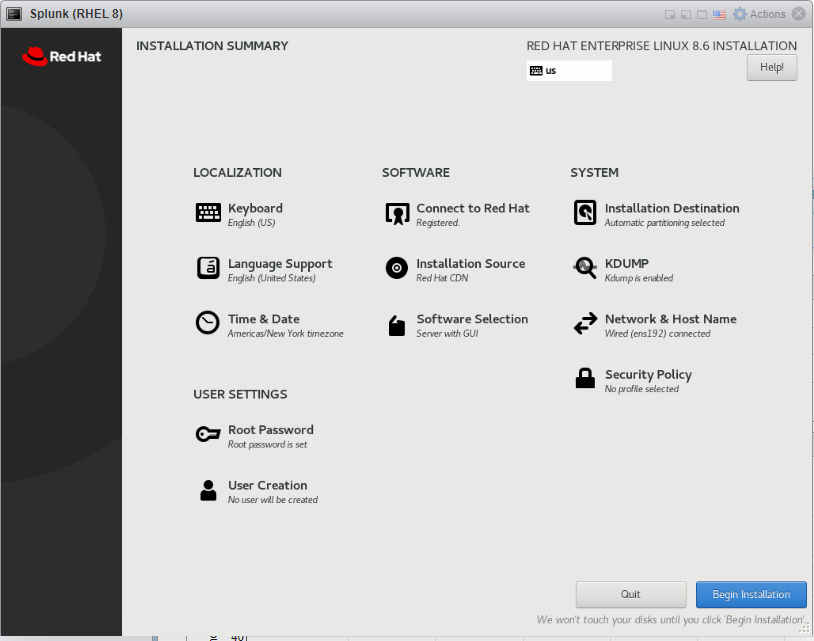
Then I’ll start the VM up and install RHEL as required, and install my RHEL License:
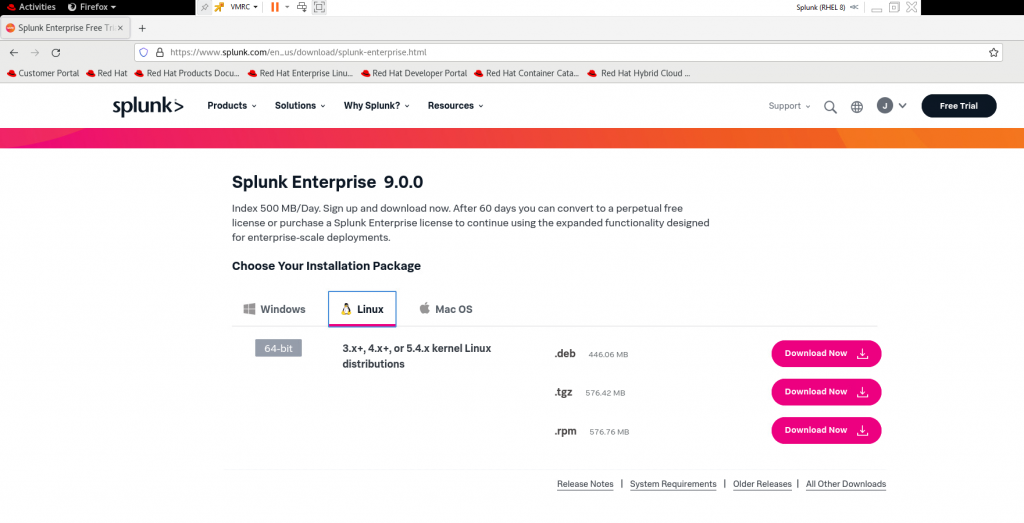
Once all set up, I went to Splunks website and downloaded the appropriate RPM Package
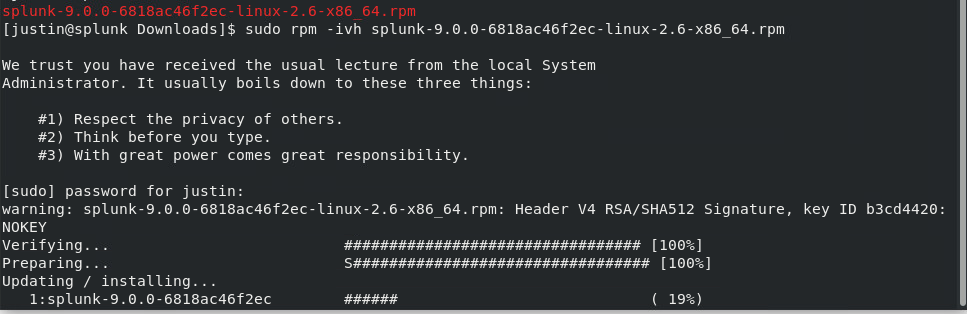
Then off to the Terminal to install Splunk
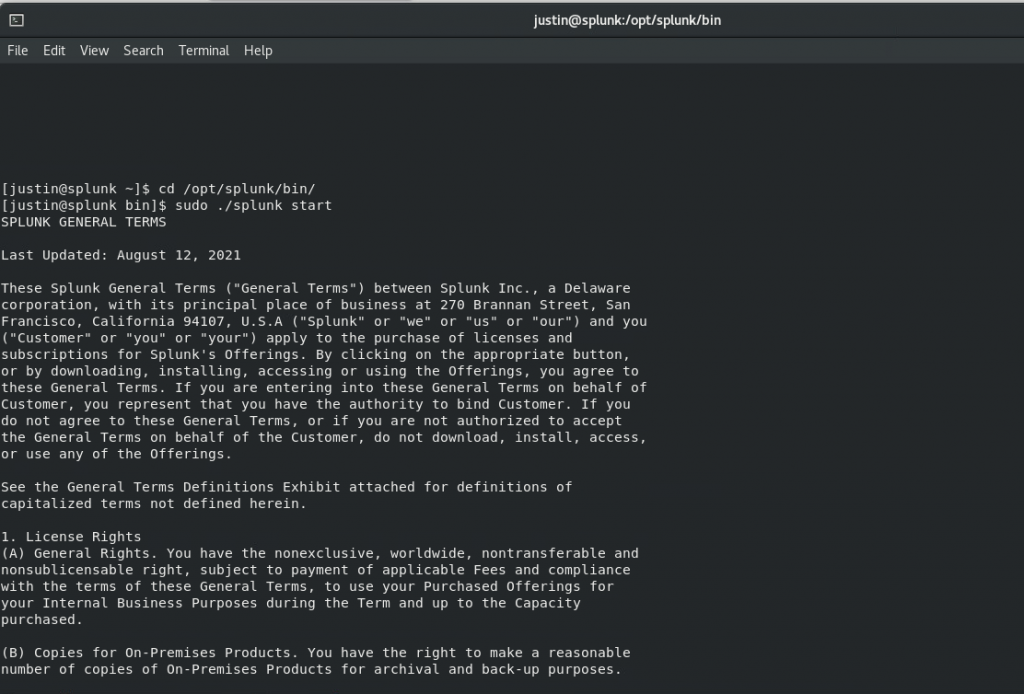
Installation instructions can also be found here (for starting the web server)
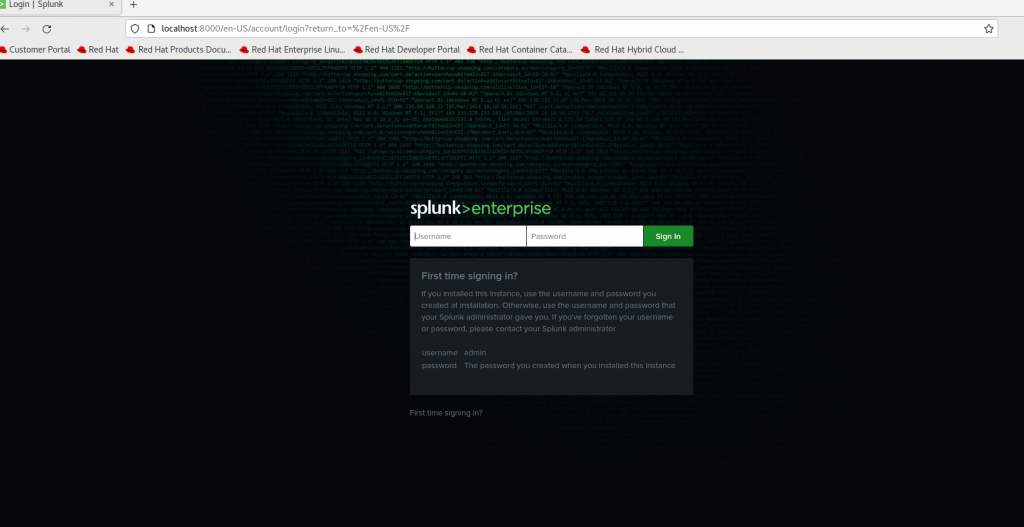
And if all goes well, you should be able to go to http://localhost:8000
Part two will be posted tomorrow where I continue setting up Splunk Enterprise