Fail2Ban has been around for a long time and is one of the most used tools today when it comes to protecting web-facing servers. It’s simple, yet many #homelab users can easily overlook this simple to utilize tool when running linux webservers.
So what is Fail2Ban? From their website:
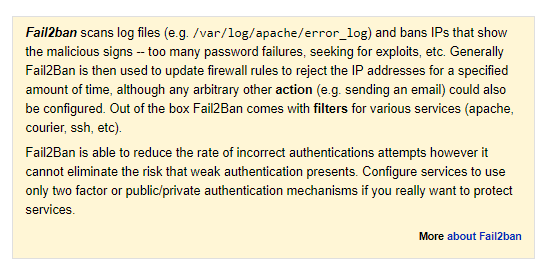
Pretty simple. It’s an added layer of protection to your website, but as it clearly states, it doesn’t replace weak authentication or lack of two factor or pub/priv keys. Let’s get started on setting up Fail2Ban.
I primarily use Ubuntu/Debian based (Apt Package Manager) operating systems, so adjust accordingly if you use RHEL/CentOS/Fedora (DNF/Yum), OpenSuse (Zypper or Yast), or Arch (btw) (snicker).
First lets update/upgrade out system just for good measure then we’ll install Fail2Ban
$ sudo apt update && sudo apt upgrade
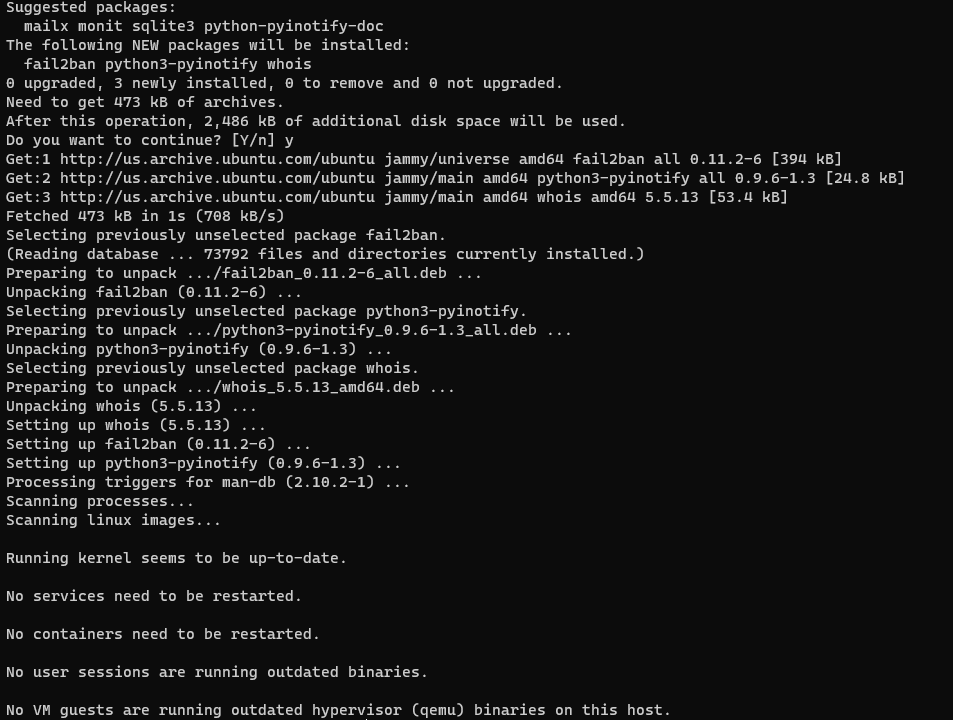
$ sudo apt install fail2ban
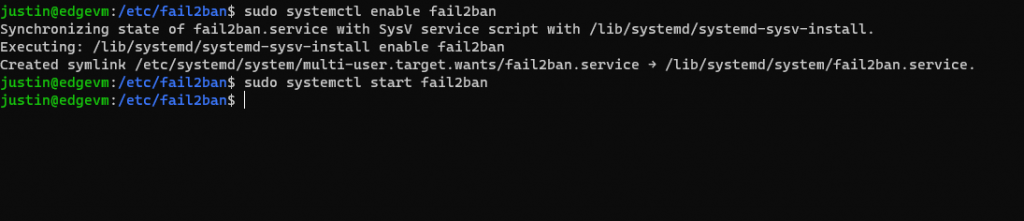
Next we will enable and start Fail2Ban
$ sudo systemctl enable fail2ban
$ sudo systemctl start fail2ban
Now we copy our default Fail2Ban jail.conf file over to a jail.local file. The reason for this is because when Fail2Ban updates, the jail.conf file will be overwritten, and any changes we make in it will therefore be overwritten.
$ sudo cp /etc/fail2ban/jail.{conf,local}
Fail2Ban utilizes Jails, which are “Filters” and “Actions”. Filters are what Fail2Ban “watches” and Actions are what Fail2Ban does when the filters are met. To set up our Fail2Ban we create our jail file using our favorite editor, nano (sue me):
$ sudo nano /etc/fail2ban/jail.local
Look for “ignoreip”, uncomment it (if it is commented it with a “#” and add any/all IP Addresses that you want to ensure that NO lockouts happen (such as your local network).

There are other settings you can adjust here as well, such as “bantime” (how long an IP address is banned for), “findtime” (the duration of the “offense” filtered) and “maxretry” (how many times until Fail2Ban takes action). Adjust these to your liking.
Afterwards exit out of your editor and restart Fail2Ban:
$ sudo systemctl restart fail2ban
So now we will set up our “jail” file in the “/etc/fail2ban/jail.d” directory. Let’s create one for SSH:
$ sudo touch /etc/fail2ban/jail.d/sshd.local
Next we will enter our configuration
[sshd]
enabled = true
port = ssh
action = iptables-multiport
maxretry = 3
bantime = 600
This creates an “sshd” jail, enables it, identifies the port (ssh, you can also list the port number(s) here to listen on), action (what action it will take, defined in /etc/fail2ban/action.d), the maxretry and bantime should be self-explanatory. Another line can be added called “logpath” that it will watch a certain log file/path for failed tries.
Afterwards, restart Fail2Ban again:
$ sudo systemctl restart fail2ban
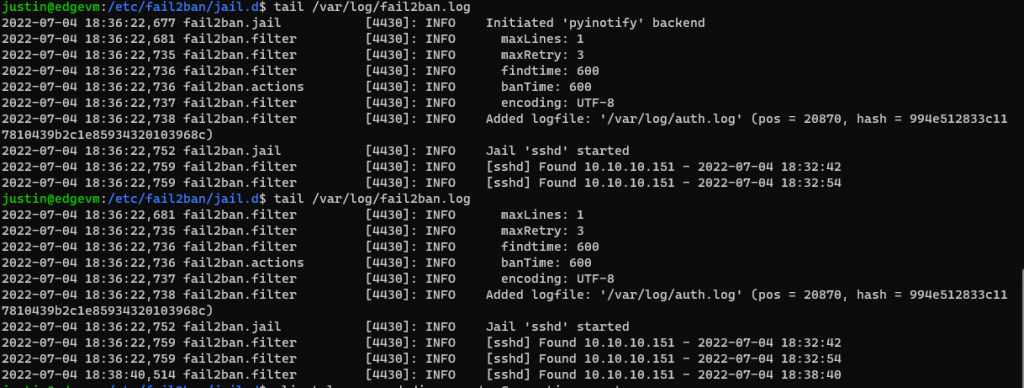
To check your settings, you can “tail” your Fail2Ban log and see for yourself
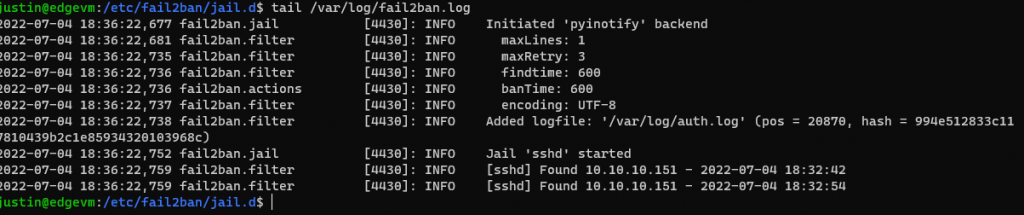
I’ll test some failed SSH attempts (I’ll remove my local subnet from the jail.local file created above)
And while I was testing this, I forgot that I was already testing this in another window and successfully locked myself out of my machine….

Sigh… I’ll be able to log back into that machine eventually…
Just kidding, I’ unlock myself now (through my ESXi server). Let me show you the commands:
$ sudo fail2ban-client set sshd unbanip 10.10.10.151
$ tail /var/log/fail2ban.log
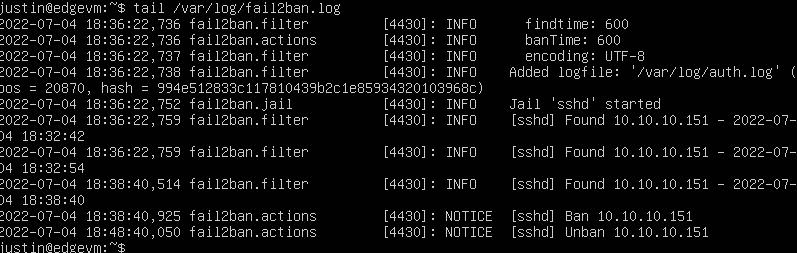 Success!
