Video here
Cybersecurity is a fascinating and rewarding field, but it also requires a lot of hands-on practice and experimentation. That’s why many aspiring and experienced cybersecurity professionals, such as myself, set up their own homelabs, where they can test and learn new skills in a safe and controlled environment.
But how do you start a HomeLab? What kind of hardware and software do you need? And what are some of the benefits and challenges of running your own mini data center at home?
The Hardware
When I first started my career in Information Technology, I immediately created my own omhelab which consisted of older enterprise servers and workstations. These devices were noisy, loud, and at times you couldn’t sit comfortably in the same room without going absolutely crazy from the noise… Since my first iteration of my homelab, (Photo below) I have rebuilt it several times, with different sets of hardware and software, testing out everything I could possible.
In my latest version of my homelab, I kept the mindset of having a limited budget and space. I didn’t want to once again, spend a fortune on fancy servers or rack cabinets, nor did I want to deal with the noise and heat that they generate. I opted for some affordable and compact solutions that still met my needs, with the mindset that I would be later connecting this to my public cloud instance in the future. These options are not only budget friendly, but also provide adequate power to run most of the common software found today, such as different hypervisors, vulnerabilities scanning software, logging and SIEM tools, an integrated NAS, and more.
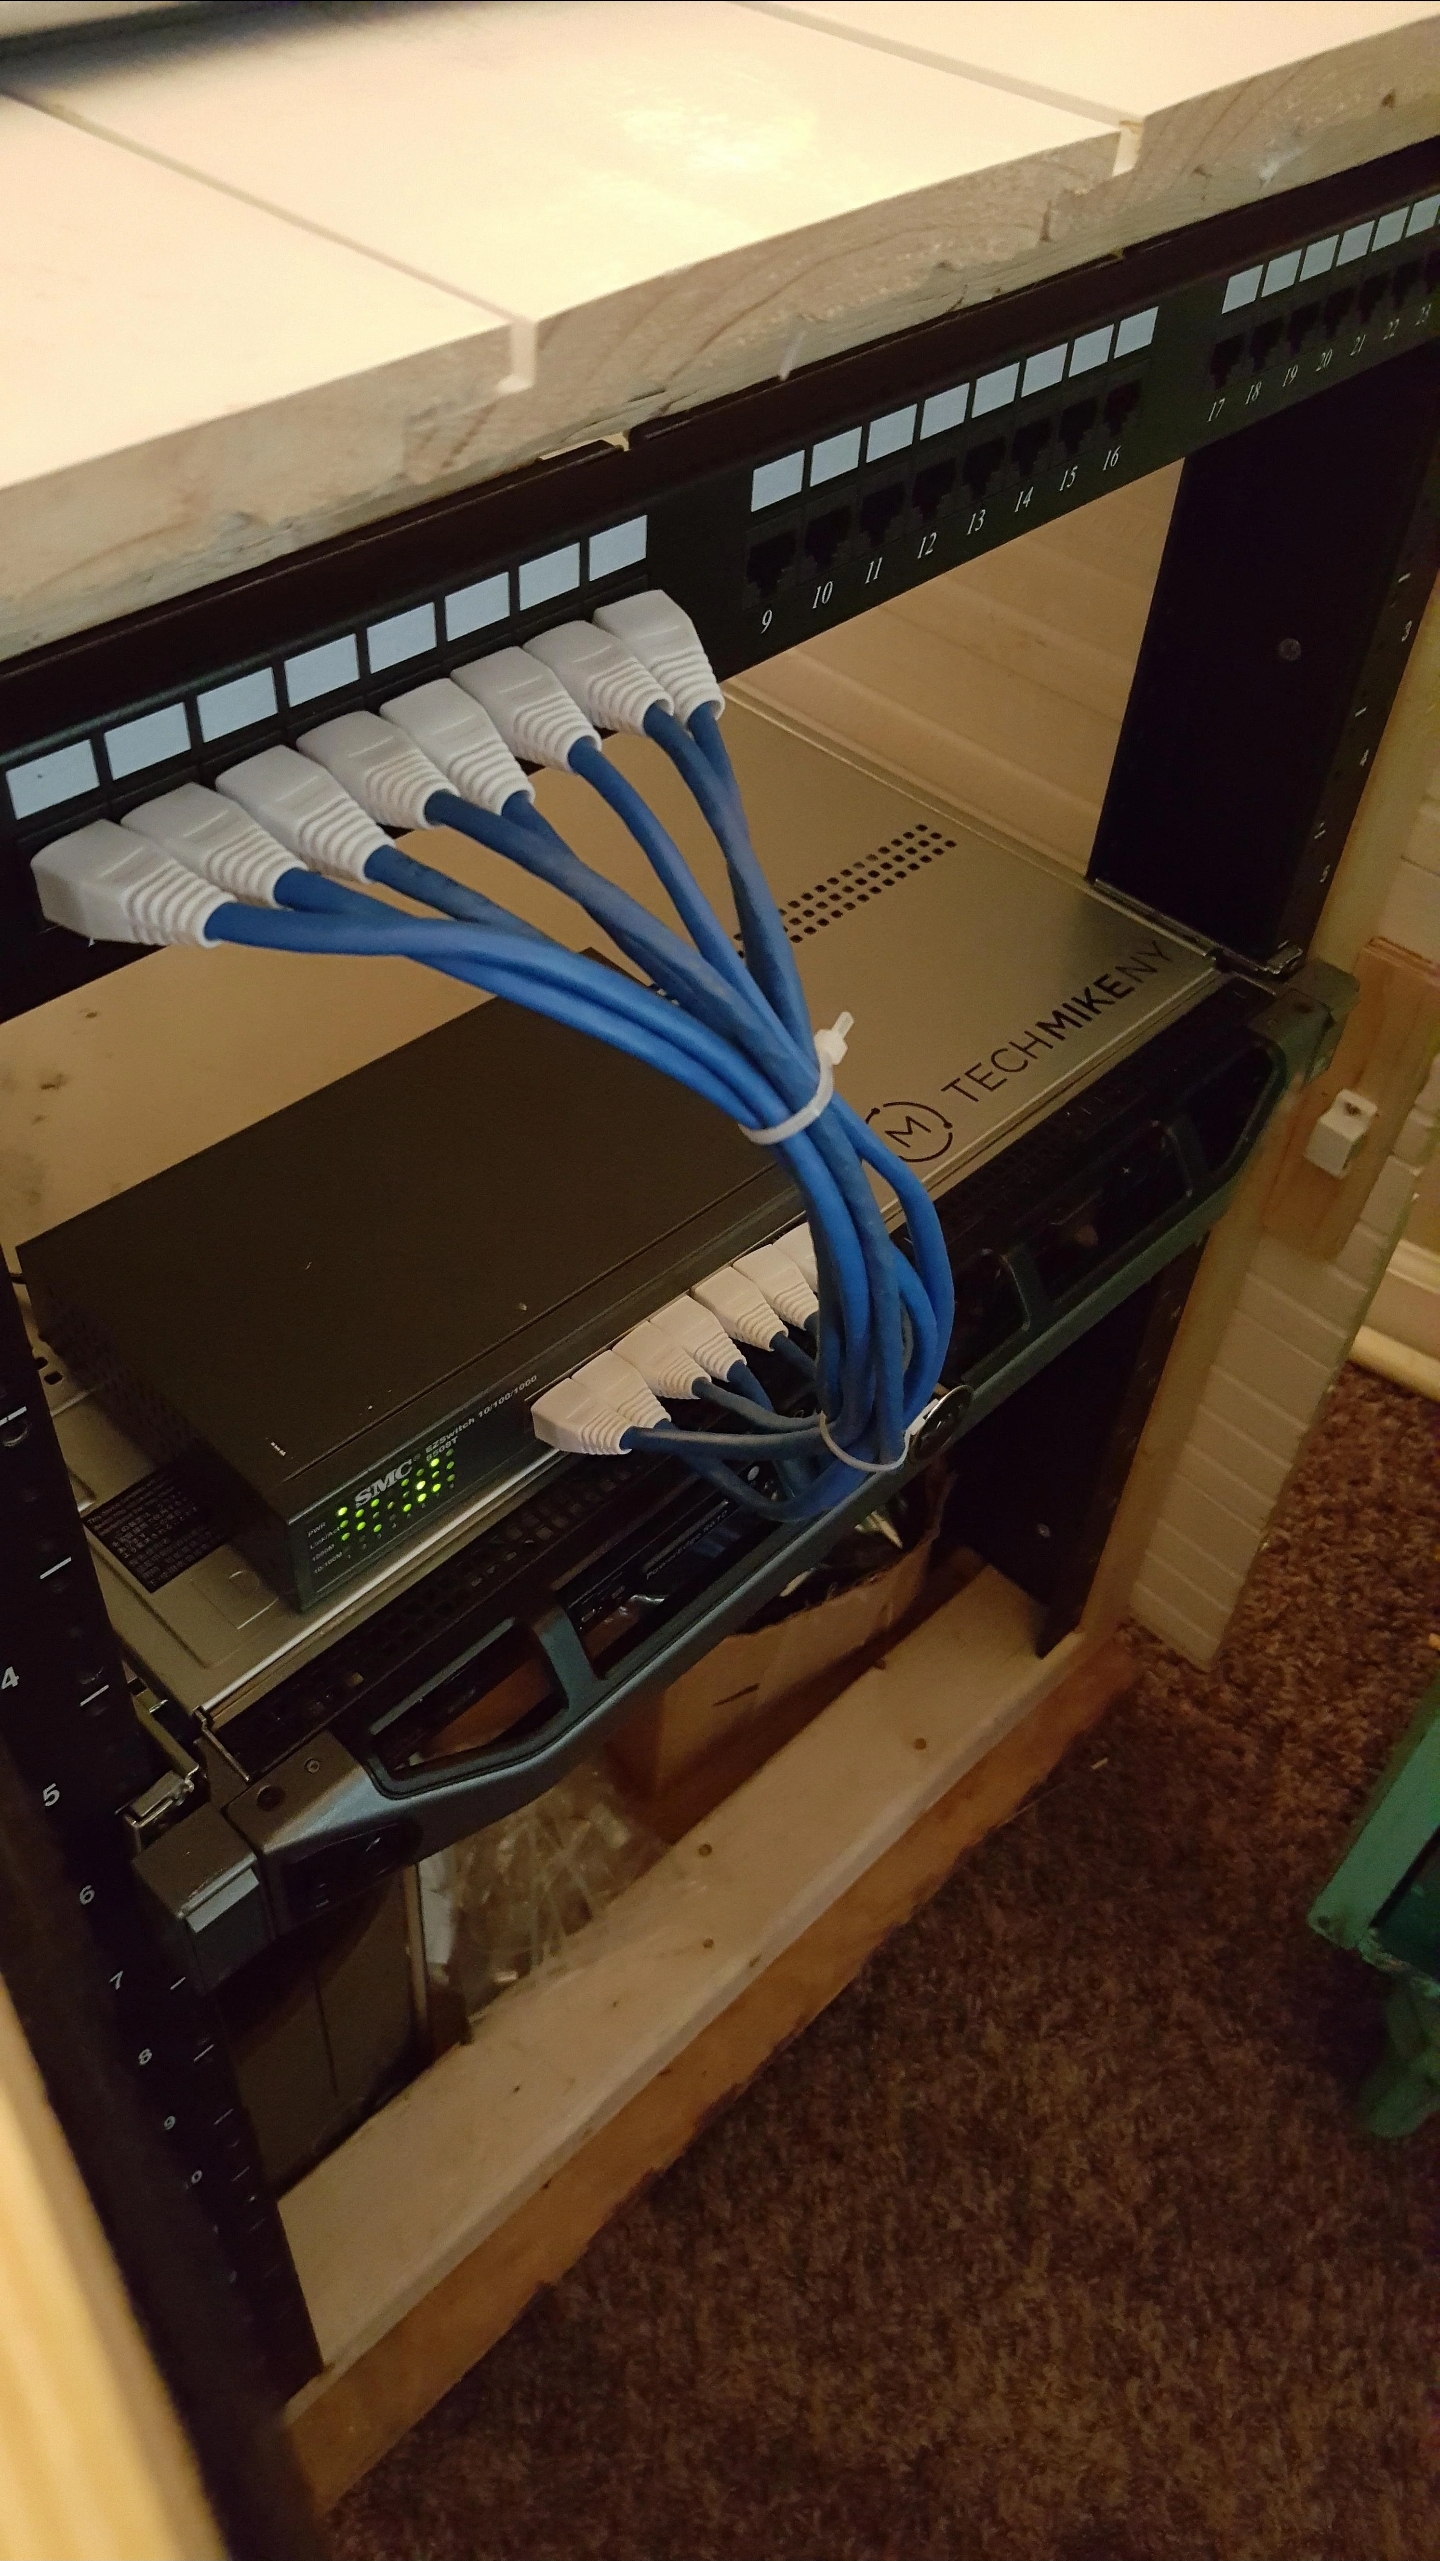
So here is a list of my current hardware stack I use in my Homelab today:
Lenovo Thinkcenter m710q – OPNsense Firewall and Router (https://www.opnsense.org). OPNsense turns pretty much any old computer into a Firewall and Router solution. This has a 6th gen Intel i3 processor, 8GB of RAM, and a 120GB SSD, plus an additional Intel Ethernet adapter for a secondary network interface. Total cost of $50. White Box Server: 10-core (20 thread) Xeon E5-2640 v4 processor, 112GB of DDR 4 RAM, and multiple drives. Serves as a NAS and Hypervisor Server running Proxmox (https://www.proxmox.com). Total cost of $300 TP-Link 8-port Managed Switch: TP Link TL-SG108E 8 port network switch – Basic switch with VLAN Capabilities I was able to build my homelab with less than $400 worth of hardware. This is not the most powerful or scalable setup out there when compared to enterprise gear, but it works well for my needs and fits in a small corner of my office basement.
The Software
OPNSense: It provides many features that are essential for any small network, such as network address translation, DHCP, DNS, VPN, and firewall. It also has many plugins that add more functionality, such as AdGuard (for network-wide ad blocking), Unbound (for DNS over TLS encryption), and IDS/IPS tools. ProxMox: Main hypervisor. Proxmox provides the capability to create and manage multiple VMs on a single physical machine using either a web interface or a command-line tool. It also supports features such as LXC for creating containers directly on the hypervisor, similar to Docker. The biggest benefit, aside from cost, has a built-in high-availability cluster manager and live-migration, which makes it nice if I decide to expand in the future. Virtual Machines: In the future, I’ll be adding more virtual machines to the mix (Again), as I am rebuilding the server (again). The Benefits
What are the benefits of a homelab? There are several reasons, listed below:
Learning: A homelab is a great way to learn new skills and technologies that are relevant to your field or interest. You can try out different operating systems, applications, tools, protocols, etc. without worrying about breaking anything or affecting anyone else. You can also follow online tutorials, courses, books, etc. that teach you how to use your homelab for various purposes. Testing: A homelab is also a great way to test new ideas and solutions that you come up with or find online. You can experiment with different configurations, settings, parameters, etc. and see how they affect the performance, security, functionality, etc. of your homelab. You can also compare different options and alternatives and find the best one for your needs. Fun: A homelab is also a lot of fun to play with. You can create your own mini data center at home and customize it to your liking. You can also challenge yourself with different projects and goals that you set for yourself or find online. You can also share your homelab with others and get feedback and suggestions from the community. Career: A homelab can also help you advance your career in cybersecurity or technology. You can use your homelab to demonstrate your skills and knowledge to potential employers or clients. You can also use your homelab to improve your resume and portfolio by showcasing your projects and achievements. You can also use your homelab to prepare for certifications or interviews by practicing with real-world scenarios and questions. The Challenges
There are also some challenges and drawbacks while running your own mini data center at home. The biggest hurdle is cost. A homelab can be expensive to build and maintain. From buying the hardware, and potentially the Software, costs can add up quickly. If you decide to get older equipment or enterprise equipment, space can also be a factor if you decide to scale up in the future. Timecan also play a factor, as a homelab can consume a lot of time and attention, especially as you look into configuring, updating and troubleshooting. And finally security, running services from your homelab, especially when exposing them to the internet, can bring out security risks. Make sure you properly secure networks as needed to prevent such attacks.