
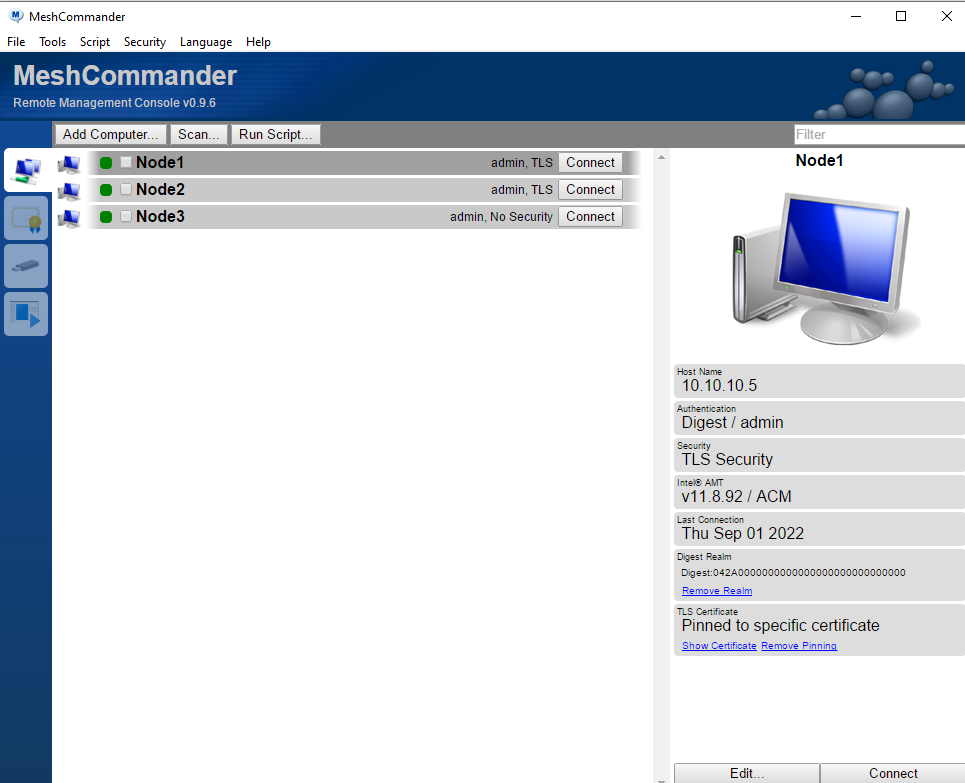
Installing ESXI 7.03 on these HP 800 G3’s is actually much easier than I expected since I had already activated and set up the Intel AMT. For those who don’t know, Intel AMT is essentially (for lack of better words) Intel’s IPMI (Intelligent Platform Management Interface) or Remote VNC wrapped into a nice fancy shell. I utilize Mesh Commander (An Open Source Remote Management Suite for Intel AMT), which can be ran using Windows or Linux (with an NPM Package Manager). Honestly, I found it much easier to use the Windows exe as it was already prepackaged and I didn’t have to install dependencies.
I prepared three USB drive’s with ESXI 7.03 from VMware’s website and copied the ISO using Rufus (or Etcher if you are on Linux, or you can even use the DD command) and plugged them in.
A note before undertaking all of this, I had to update the firmware on all of these devices before Mesh Commander played nicely, however, the HP Update did not provide a .bin file separately which I could update from the BIOS or from a boot disk. Mesh Commander screamed at me about a CVE that was affecting these devices, and I had weird errors involving the Remote Desktop’s IDE-R (The ability to mount a remote ISO drive from the “host” computer). In order to update the firmware I had to install Windows to run the update executable. I did all of this before installing ESXI. Furthermore, I also decided it best to not use the IDER (IDE-R) function in this case due to installation speed (simultaneous installation across three computers) and because I still was sitting next to all three nodes.
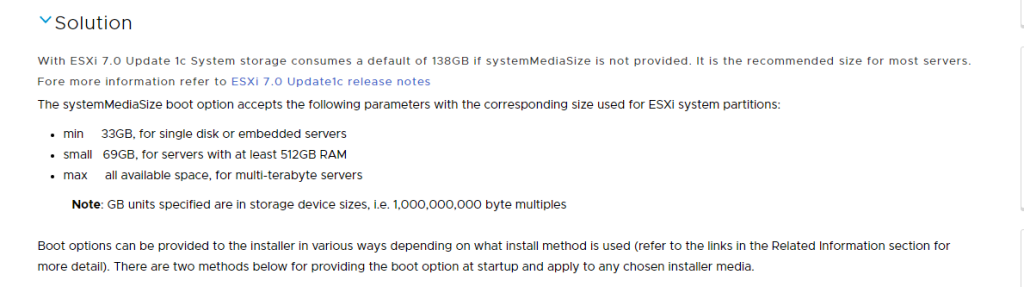
I sadly do not have screenshots of the installation process for ESXI, however during the installation, I chose to install to the 128 GB NVMe PCIe drives on each node. These were the smallest drives on the nodes. I also, when booting up the ISO, I opted to do a “Minimal” install for the ESXI System Partitions. So within 5 seconds of the boot screen popping up, press Shift + o, and you should be able to enter commands on the bottom (it appears like a shell prompt). Then add in “systemMediaSize=min” and press enter. This gives me more room for activities. (/end Step Brothers quote).
Afterwards, accept the typical EULA, select your installation disk, your keyboard layout, set your root password, press f11 to confirm your install, reboot and you are off to the races. If you already set up your DNS server on your router like I did (or wherever your DNS servers reside) then log in using your FQDN or IP address, otherwise when your servers reset, you’ll be presented with whatever DHCP assigned your server (in my case, I assigned my nodes esxi1, esxi2 and esxi3).
Set up the SSL Certificate that I borrowed Stole from my router
Next on my list was to set up my SSL Certificate on my ESXI Server because I was tired of looking at this when I log in:
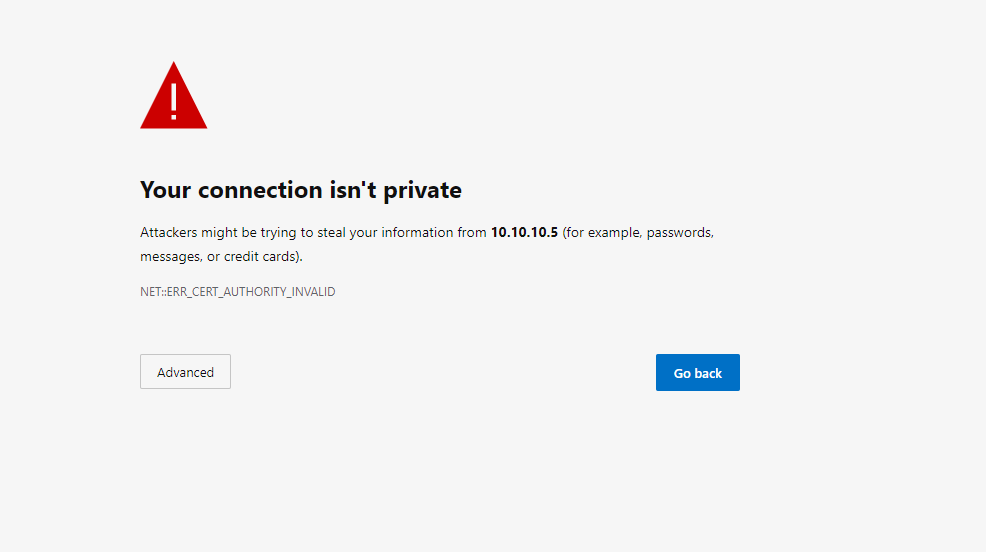
Actually, it’s more than just that, it’s to ensure that communication between the server and client is secure. But wait, I’m not exposing these to the internet right? …

JUST KIDDING. DONT EVER EXPOSE YOUR HYPERVISORS TO THE INTERNET!!!! Not unless you have it secured behind several authentication points/two factors/vpn’s/etc, and know exactly what you are doing (not in the scope of this post).
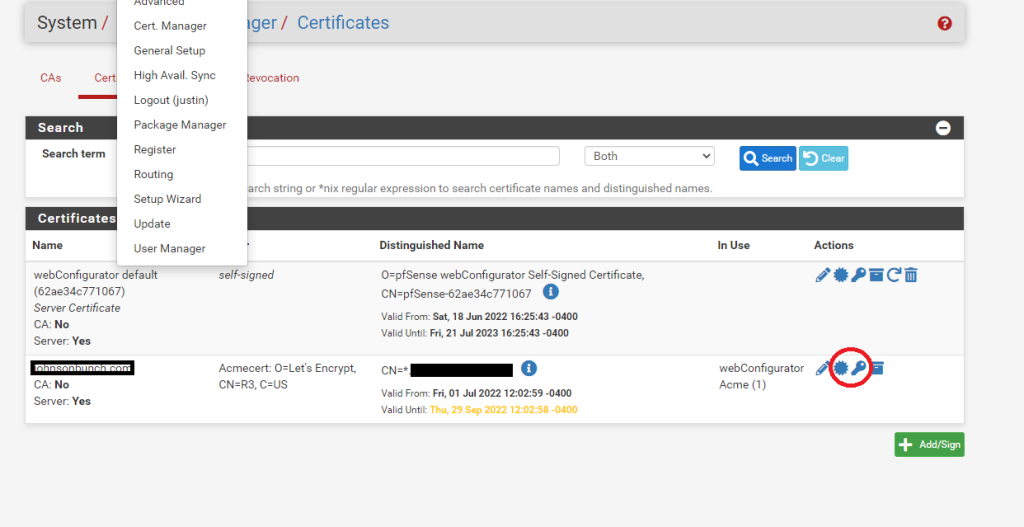
So how exactly did I steal my SSL Certificate from my pfSense router? Well after I generated my wildcard certificate with ACME I simply went to my pfSense Router -> System -> Cert. Manager:
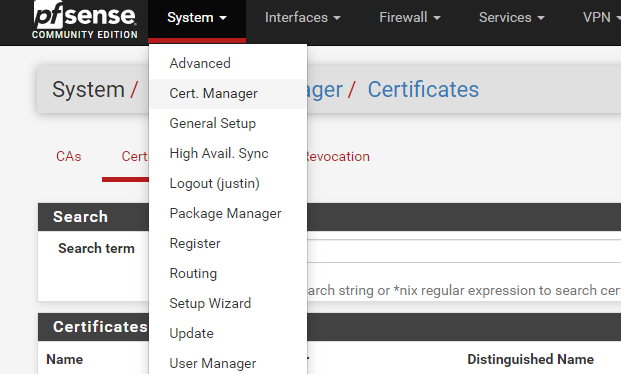
Then on this page, on the newly created Wild Card certificate, click on “Export Key” and “Export Certificate” (Save these files somewhere you can remember, you will open these later).
Now we need to enable SSH on each of the ESXI Servers and log in via SSH (for the remaining steps, I am sure we can use an Ansible Script to do this, but honestly I did this really late, and I just manually did this). Lets go to the location where SSL Certs are stored and create a backup:
$ cd /etc/vmware/ssl
Create a backup our self-signed certificate on our servers. We will keep these in the event that we screw up.
$ cp /etc/vmware/ssl/rui.crt /etc/vmware/ssl/rui.crt_old
$ cp /etc/vmware/ssl/rui.key /etc/vmware/ssl/rui.crt_key
Next we need to use the pre-installed vi editor and replace the SSL certificate on the server. First lets empty out the old certificate by “cat’ing” /dev/null into them:
$ cat /dev/null > /etc/vmware/ssl/rui.crt
$ cat /dev/null > /etc/vmware/ssl/rui.key
Then into the Certificate File, we will copy the CONTENTS of the certificate. The certificate will have the: “—–BEGIN CERTIFICATE—–“ with a bunch of characters in here followed by “—–END CERTIFICATE—–“ Copy all of this stuff, every bit of it, and paste it into our new file on our ESXI Server. If you have never used vi, press “i” on your keyboard first to “insert” first” before pasting this information.
$ vi /etc/vmware/ssl/rui.crt
# Paste contents of Certificate File, then press escape, press Shift + ":" and type wq! to Write and Quit and confirm to exit VI.
Do the same with the Key file…. The SSL Key begins with
—–BEGIN RSA PRIVATE KEY—–
and ends with
—–END RSA PRIVATE KEY—–
Do the same with the Key file…. The SSL Key begins with
—–BEGIN RSA PRIVATE KEY—–
and ends with
—–END RSA PRIVATE KEY—–
Now it’s time to restart the hosted service:
$ /etc/init.d/hostd restart
watchdog-hostd: Terminating watchdog process with PID 5528316
hostd stopped.
hostd started.
$ /etc/init.d/hostd status
hostd is running.
And if all goes well you should be able to refresh your webpage and have your new SSL Cert installed!
I want to add here that my next post was supposed to be Part 2 regarding adding ACME / Lets Encrypt certs for VCenter 7 using DNS challenges however every source, KB and article I found online cited using your own CA (such as a CA using a Microsoft product) or trusting VCenters own root authority in your browser/host, so at this time I won’t be posting it/will postpone it for a later time when I can figure out a way to do that.
Also, I wanted to make mention that one of the greatest reasons this post could be possible passed away during the time of posting about SSL certs… The founder of Lets Encrypt, Peter Eckersley, died a very sudden death a few days ago (3 Sept 2022). If it wasn’t for his contribution, as well as many others, Lets Encrypt, ACME, and the push for Free SSL Certificates may not be possible in Homelabs today… So next time you run CertBot, grab your cert using ACME or LetsEncrypt, take a moment and remember there are people behind it who fight to make it possible to keep stuff free and open source.